
Subpanel hookup (2 hours)
So I am hooking all of my electrical stuff in two stages. There is a device call the Enphase IQ Combiner which is the brains of the solar system, it also has its own set of breakers. So I am going to be hooking up the combiner into the subpanels first, then after the solar panels are installed I will hook up the panels to the combiner. This part is a little tricky because the wire design I got from wholesale solar calls for different wire gauges than from the Solar Design website I used for submitting my plans.

One nice thing that we have is we are putting the solar on our sheshed that has its own subpanel and electrical hookups. How this is going to work is we will add a breaker to the subpanel that is inside the sheshed that will go outside to an AC disconnect. Then the A/C disconnect will go to the Combiner box with. I actually don't know if I have to have a A/C disconnect, both plans just say to install one if it is needed per code. I figured that overbiulding the system would be the best option even if it is not needed. This means that there is a total of 6 cutoff points for these panels: 1) House main breaker, 2) Breaker for the workshop on the main panel, 3) main breaker on the subpanel, 4) Breaker on the subpanel, 5) A/C disconnect, and 6) breakers on the Combiner box.
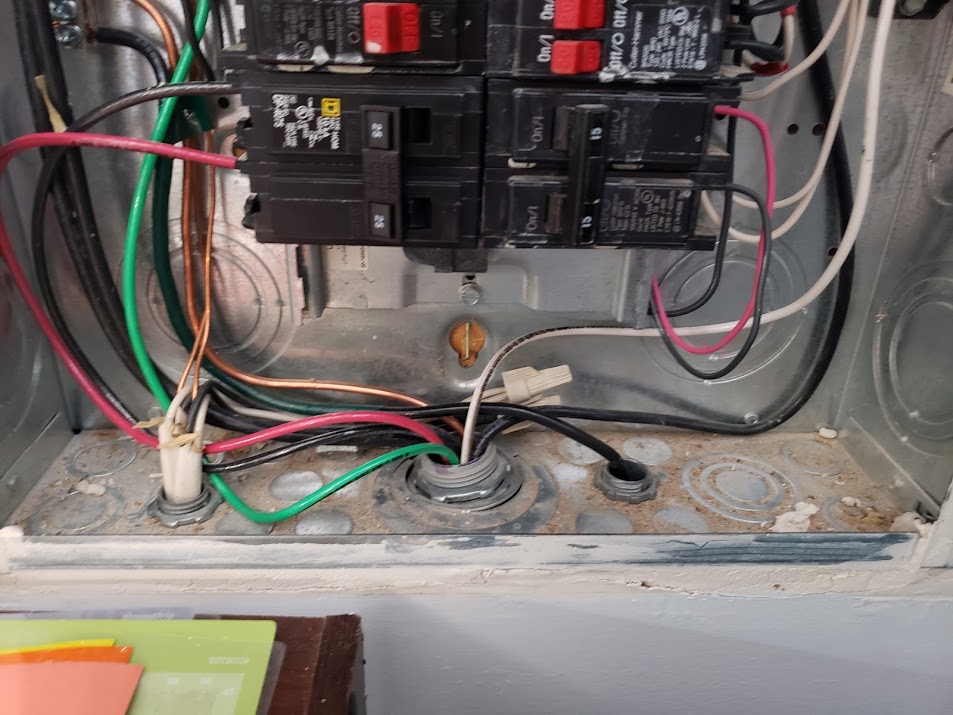
Hooking everything up is not much more dificult than installing a new wall outlet. I did have an open breaker in my subpanel that I might have been able to use, but it was a 30 amp breaker and both of my wiring diagrams called for a 25 amp breaker. So I decided to switch out the breaker which is basically just popping the old breaker off and popping the new breaker in (after making sure the power to everything was shut off on the main panel). From there I ran the wires outside through exsisting conduit.
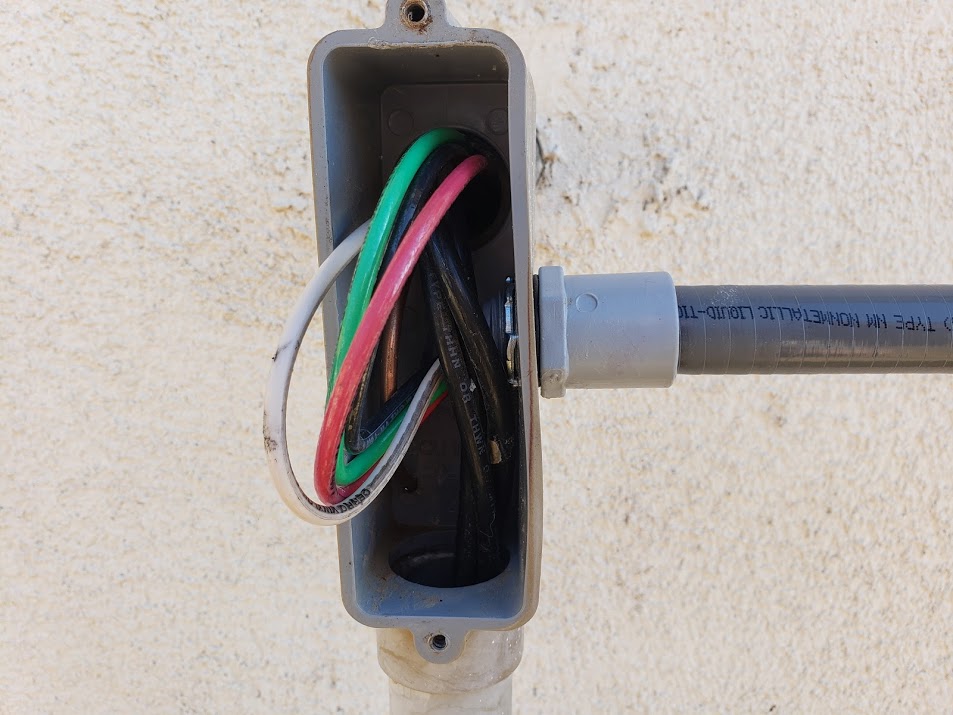
This next part might end up bighting me in the butt, but from there I added a hole in the outside junction box to run the wires to the A/C disconnect. They do make junction boxes with the three holes that I need, but it is going to take a lot of work to switch out that box and I can still do it that way if needed. I am 70% sure that what I did was fine, but you never know what strange rules there are (the process for getting the wires in the IQ Combiner was to drill a whole in it, so why would this box be different?). In the 30% case that I was wrong I didn't mess anything up that I would have had to already replace so I felt like this was a good choice.
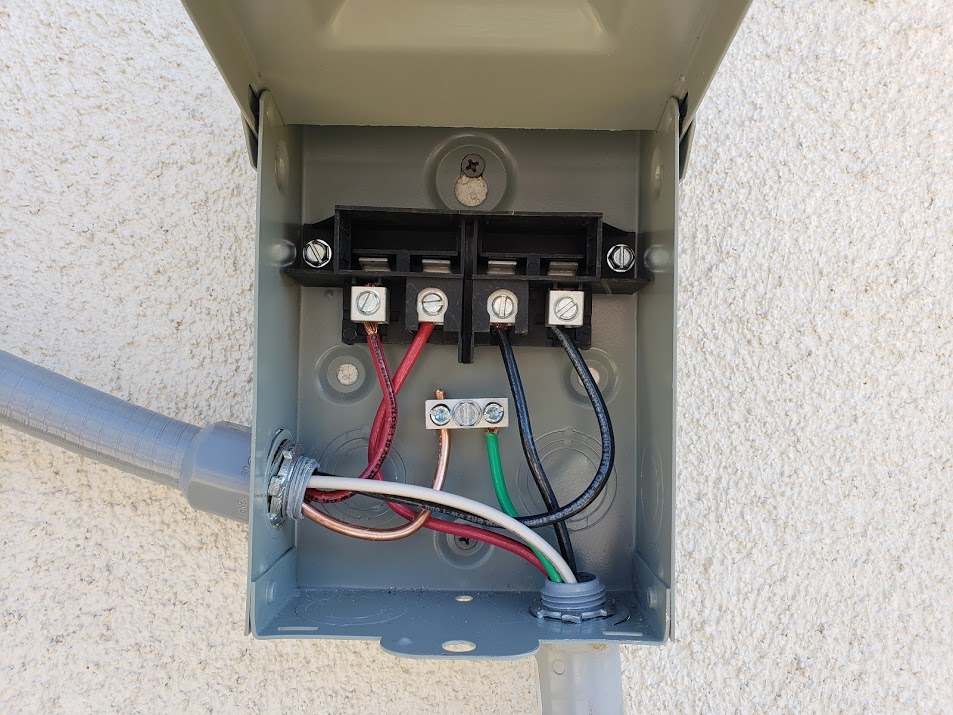
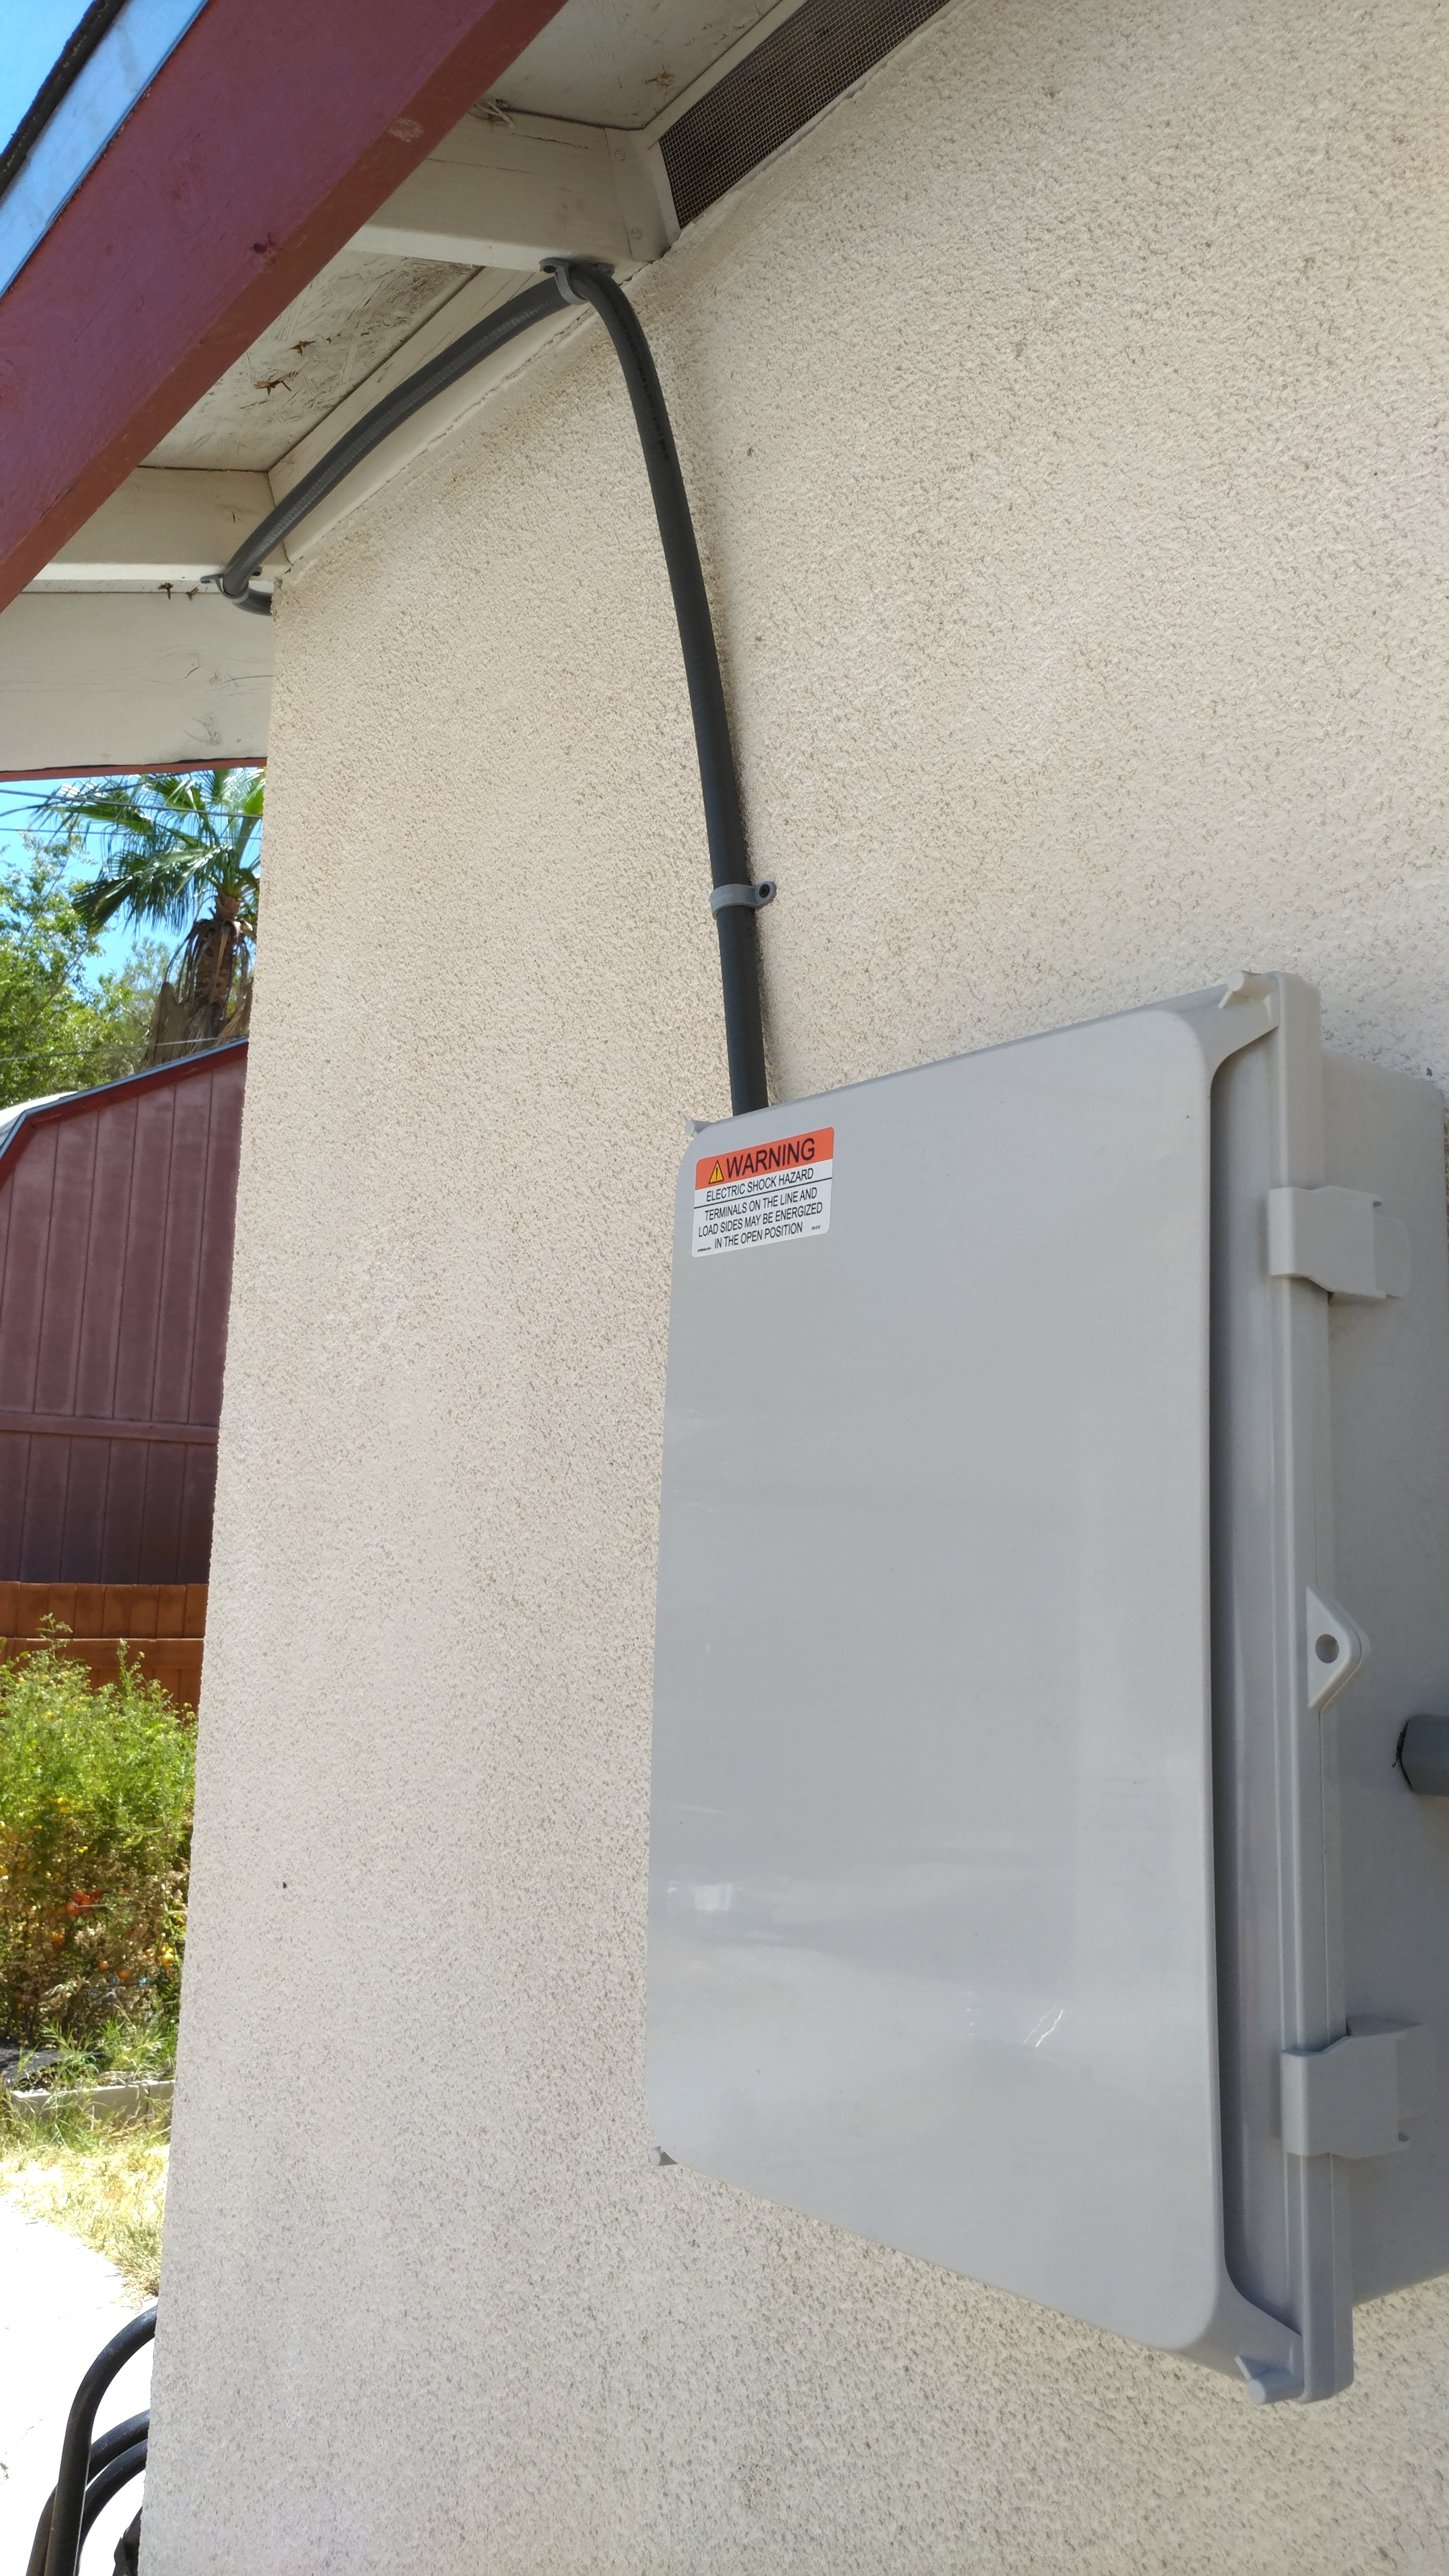
After getting the wires outside of the junction box I hooked it into the A/C disconnect whith little difficulty. I will have to talk to the permit person about this though. There are 2 line and 2 load connections and typically the line connection goes to the subpanel and the load goes to the divice, but since the electricity is usually going to be flowing in the opisite direction should I put the load to my subpanel? Either way it is just a couple of wires to switch so it will be an easy fix.
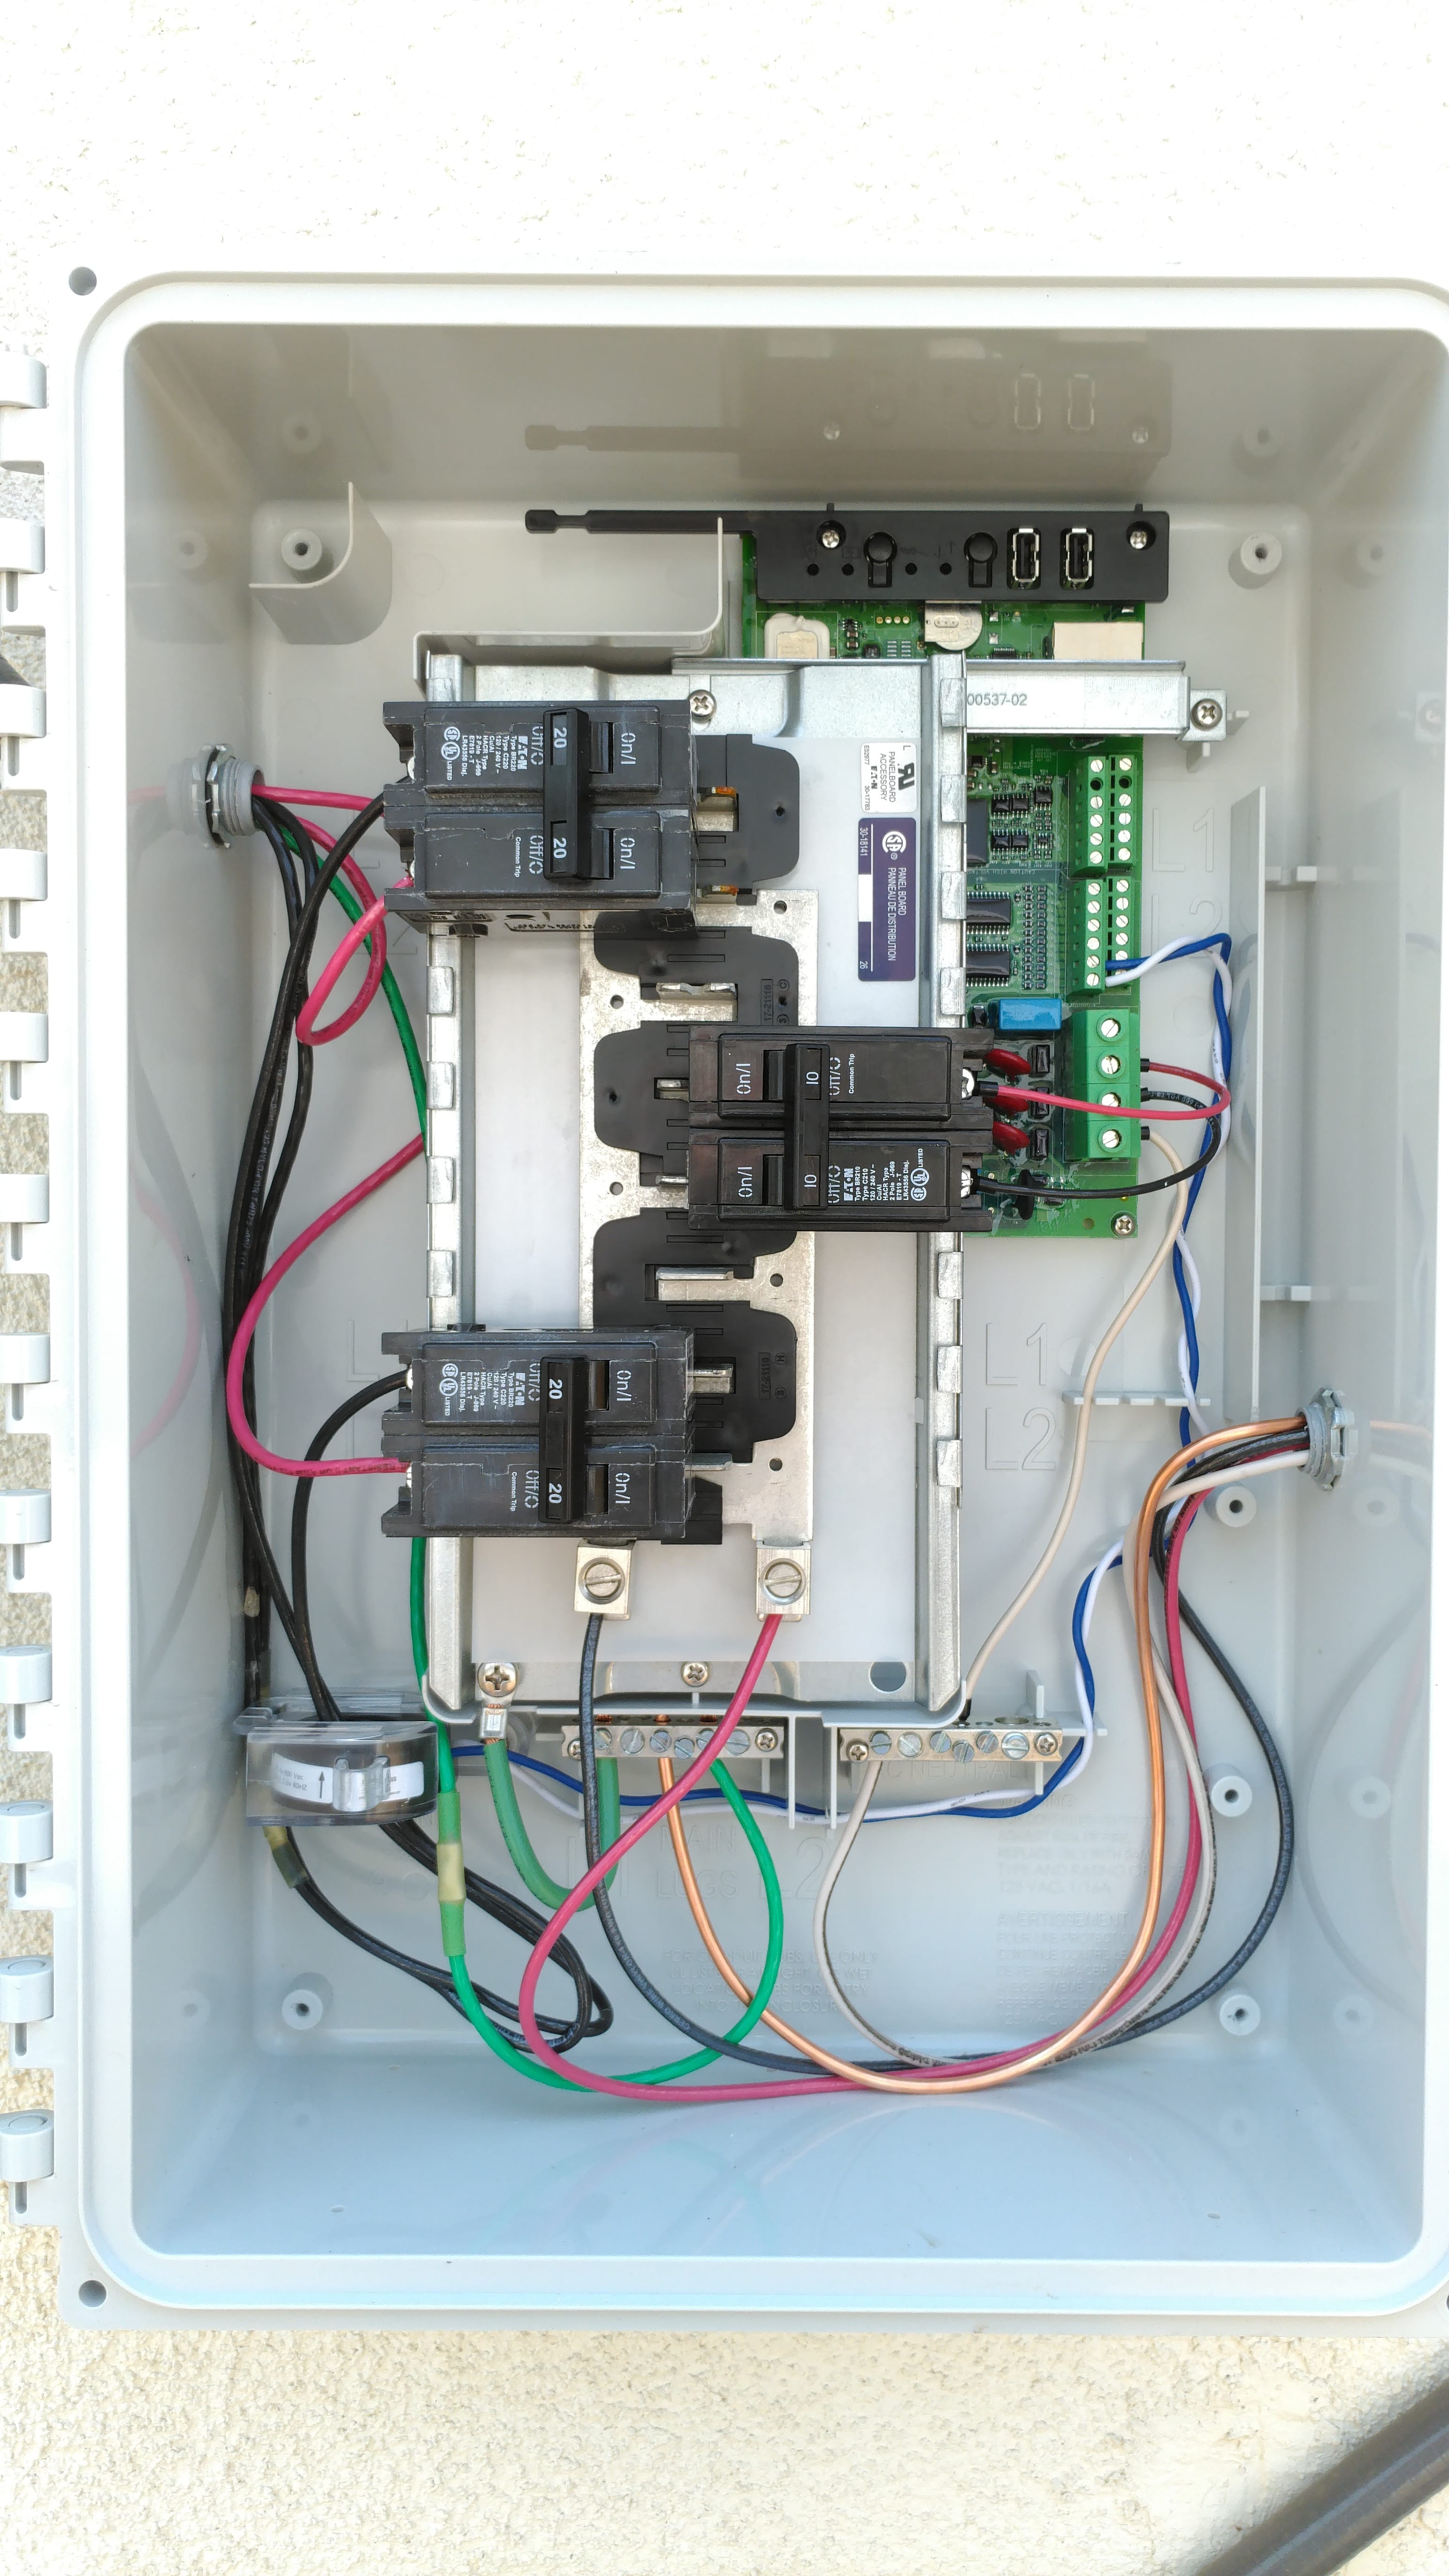
From the AC Disconnect I just brought in my ground, hot, and line wires to connect to IQ Combiner box. Again it was just connecting the wires to the positions it called for. This box also has the two breaker boxes that I will connect my solar panels to once they are installed. The only issue that we might have with this is that the conduit going from here into the AC Disconnect is a little wonky on the box side. We will see if I will need to do anything to fix this.
Solar Panel Hookup (3 hours)
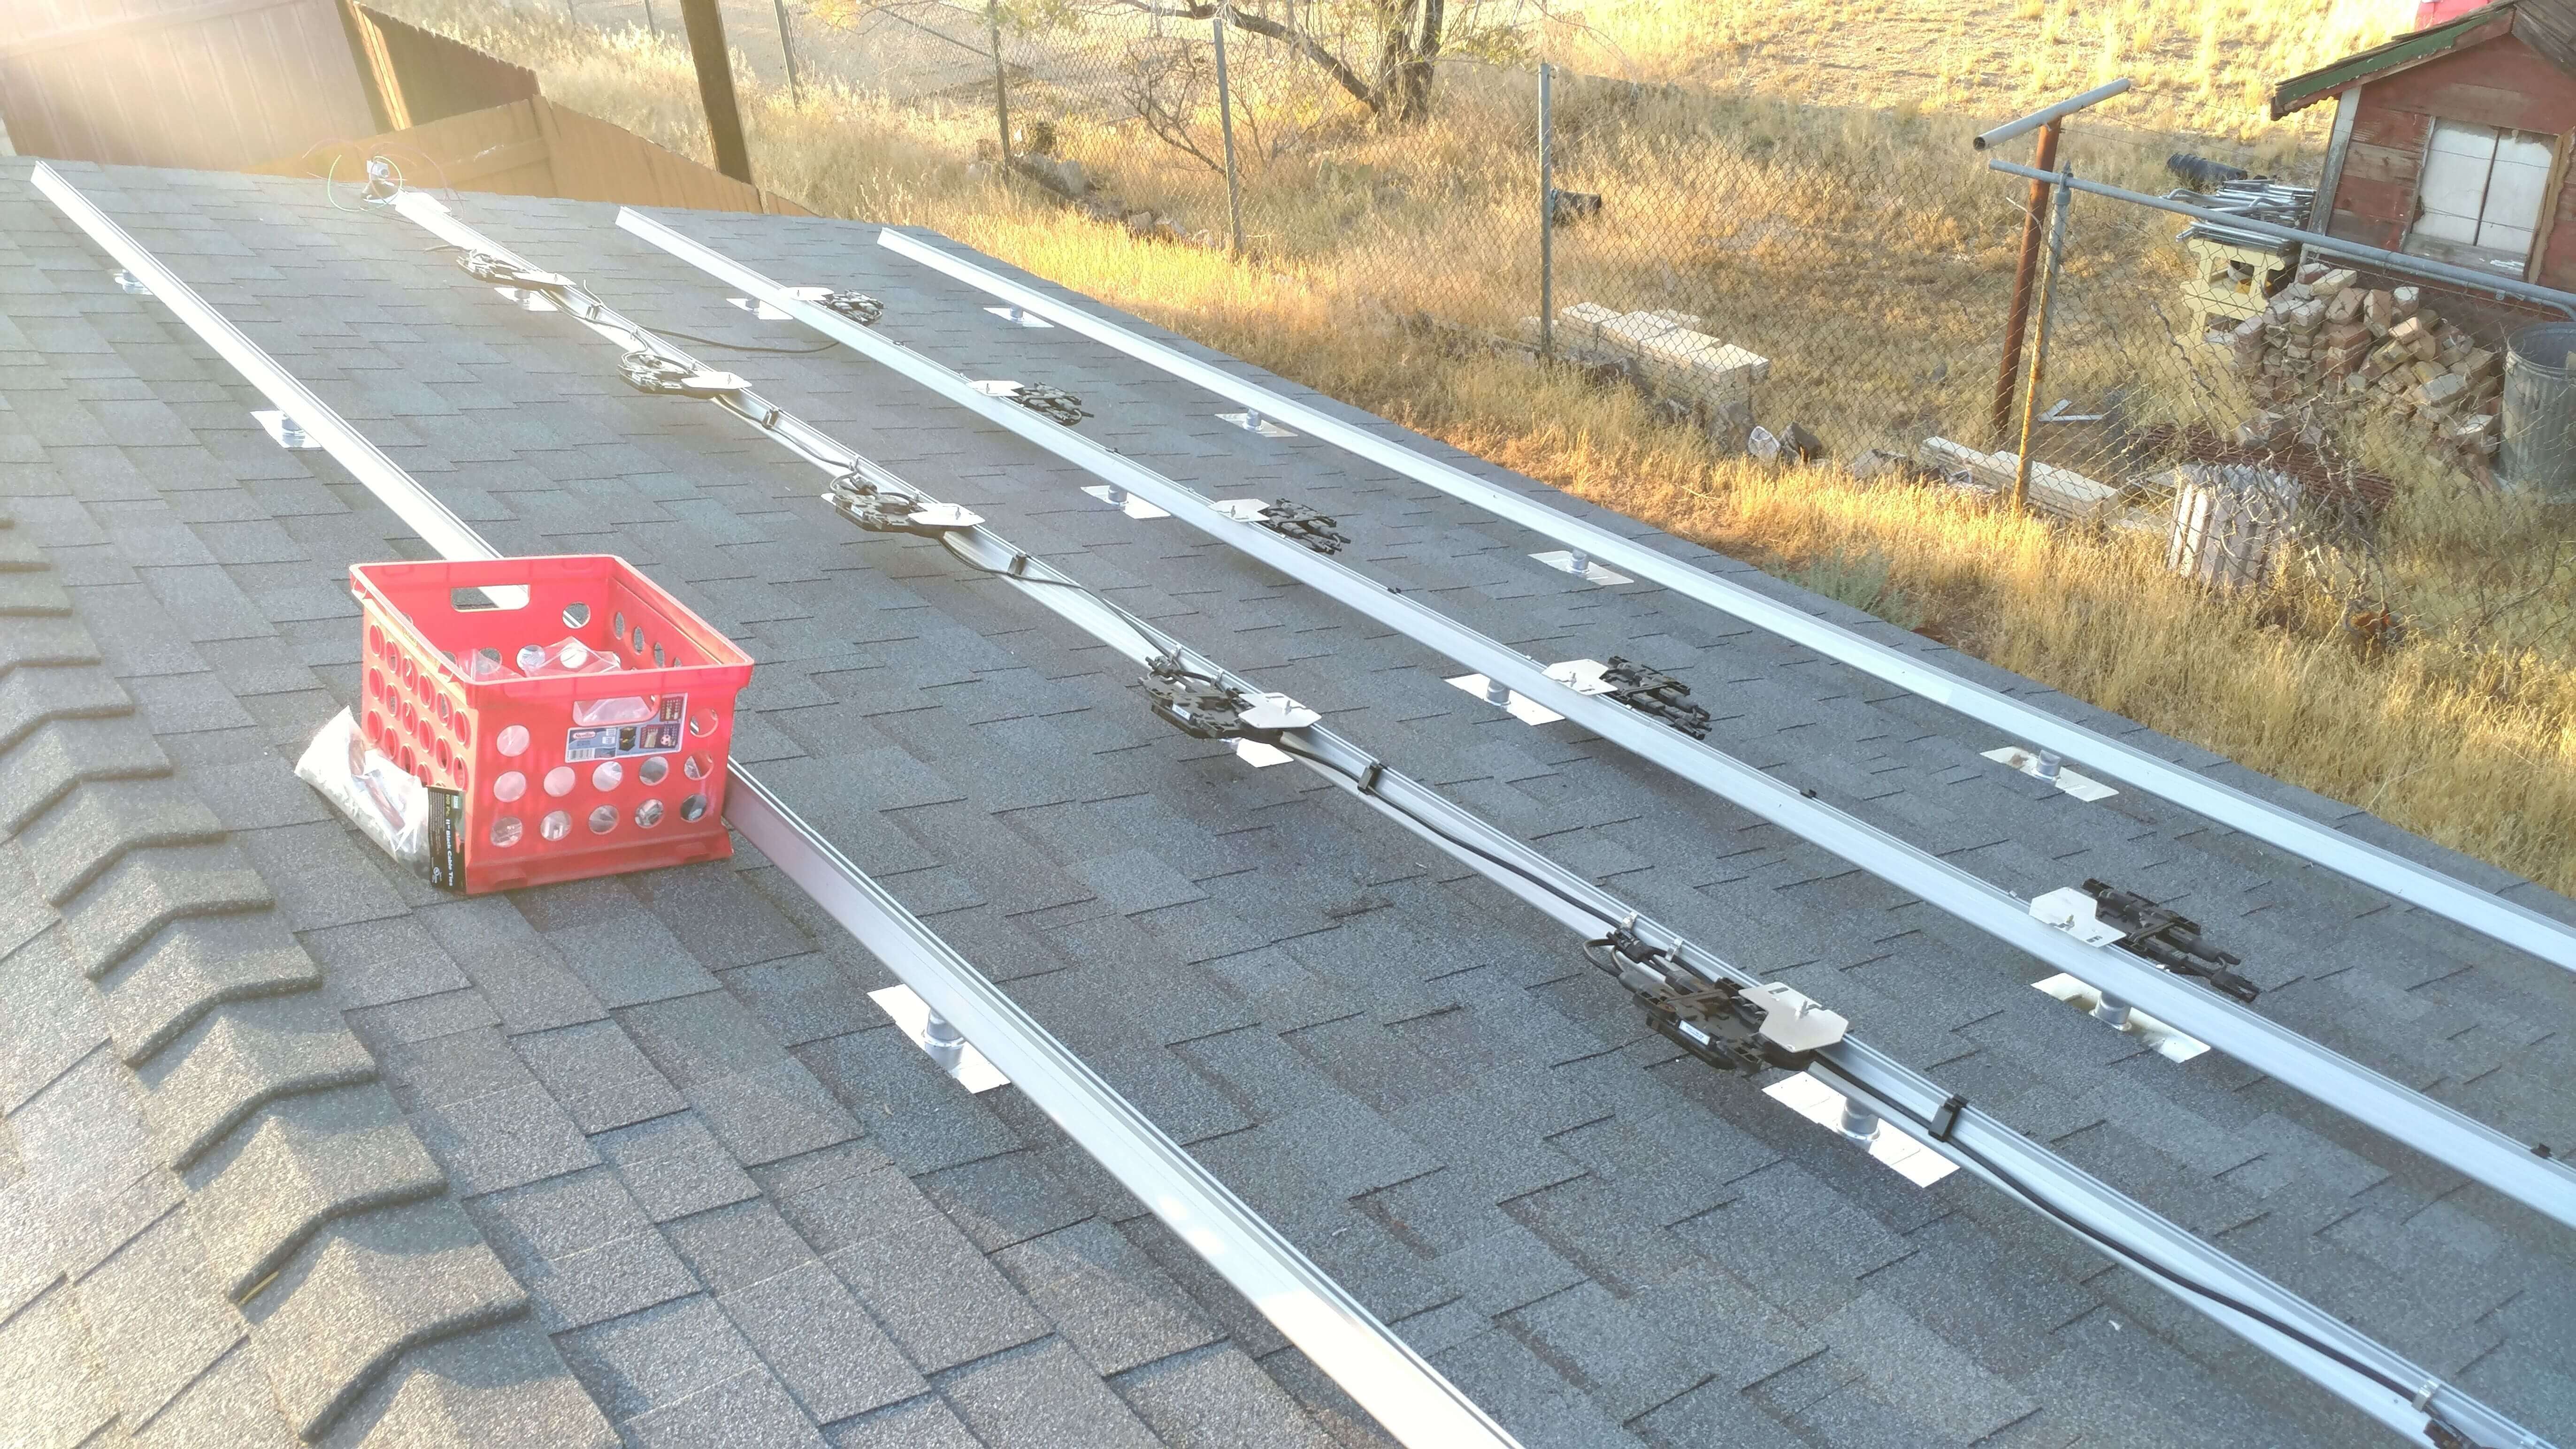
The first step was to add the micro inverters to the railing. To get them in the right spot I took 1/2 the lenght of the panels and added 1 inch of space for the rail edge and then measured that out for the location of the first inverter. After that each of the rest of the inverters where places the width of a full panel away plus 1/2 an inch for the screw that goes inbetween them. Then it was a matter of plugging them in with the supplied cables and cleaning up the wires. They did provide wire clips that hooked onto the wires, but zip ties worked a lot better and made everything stay in place better.
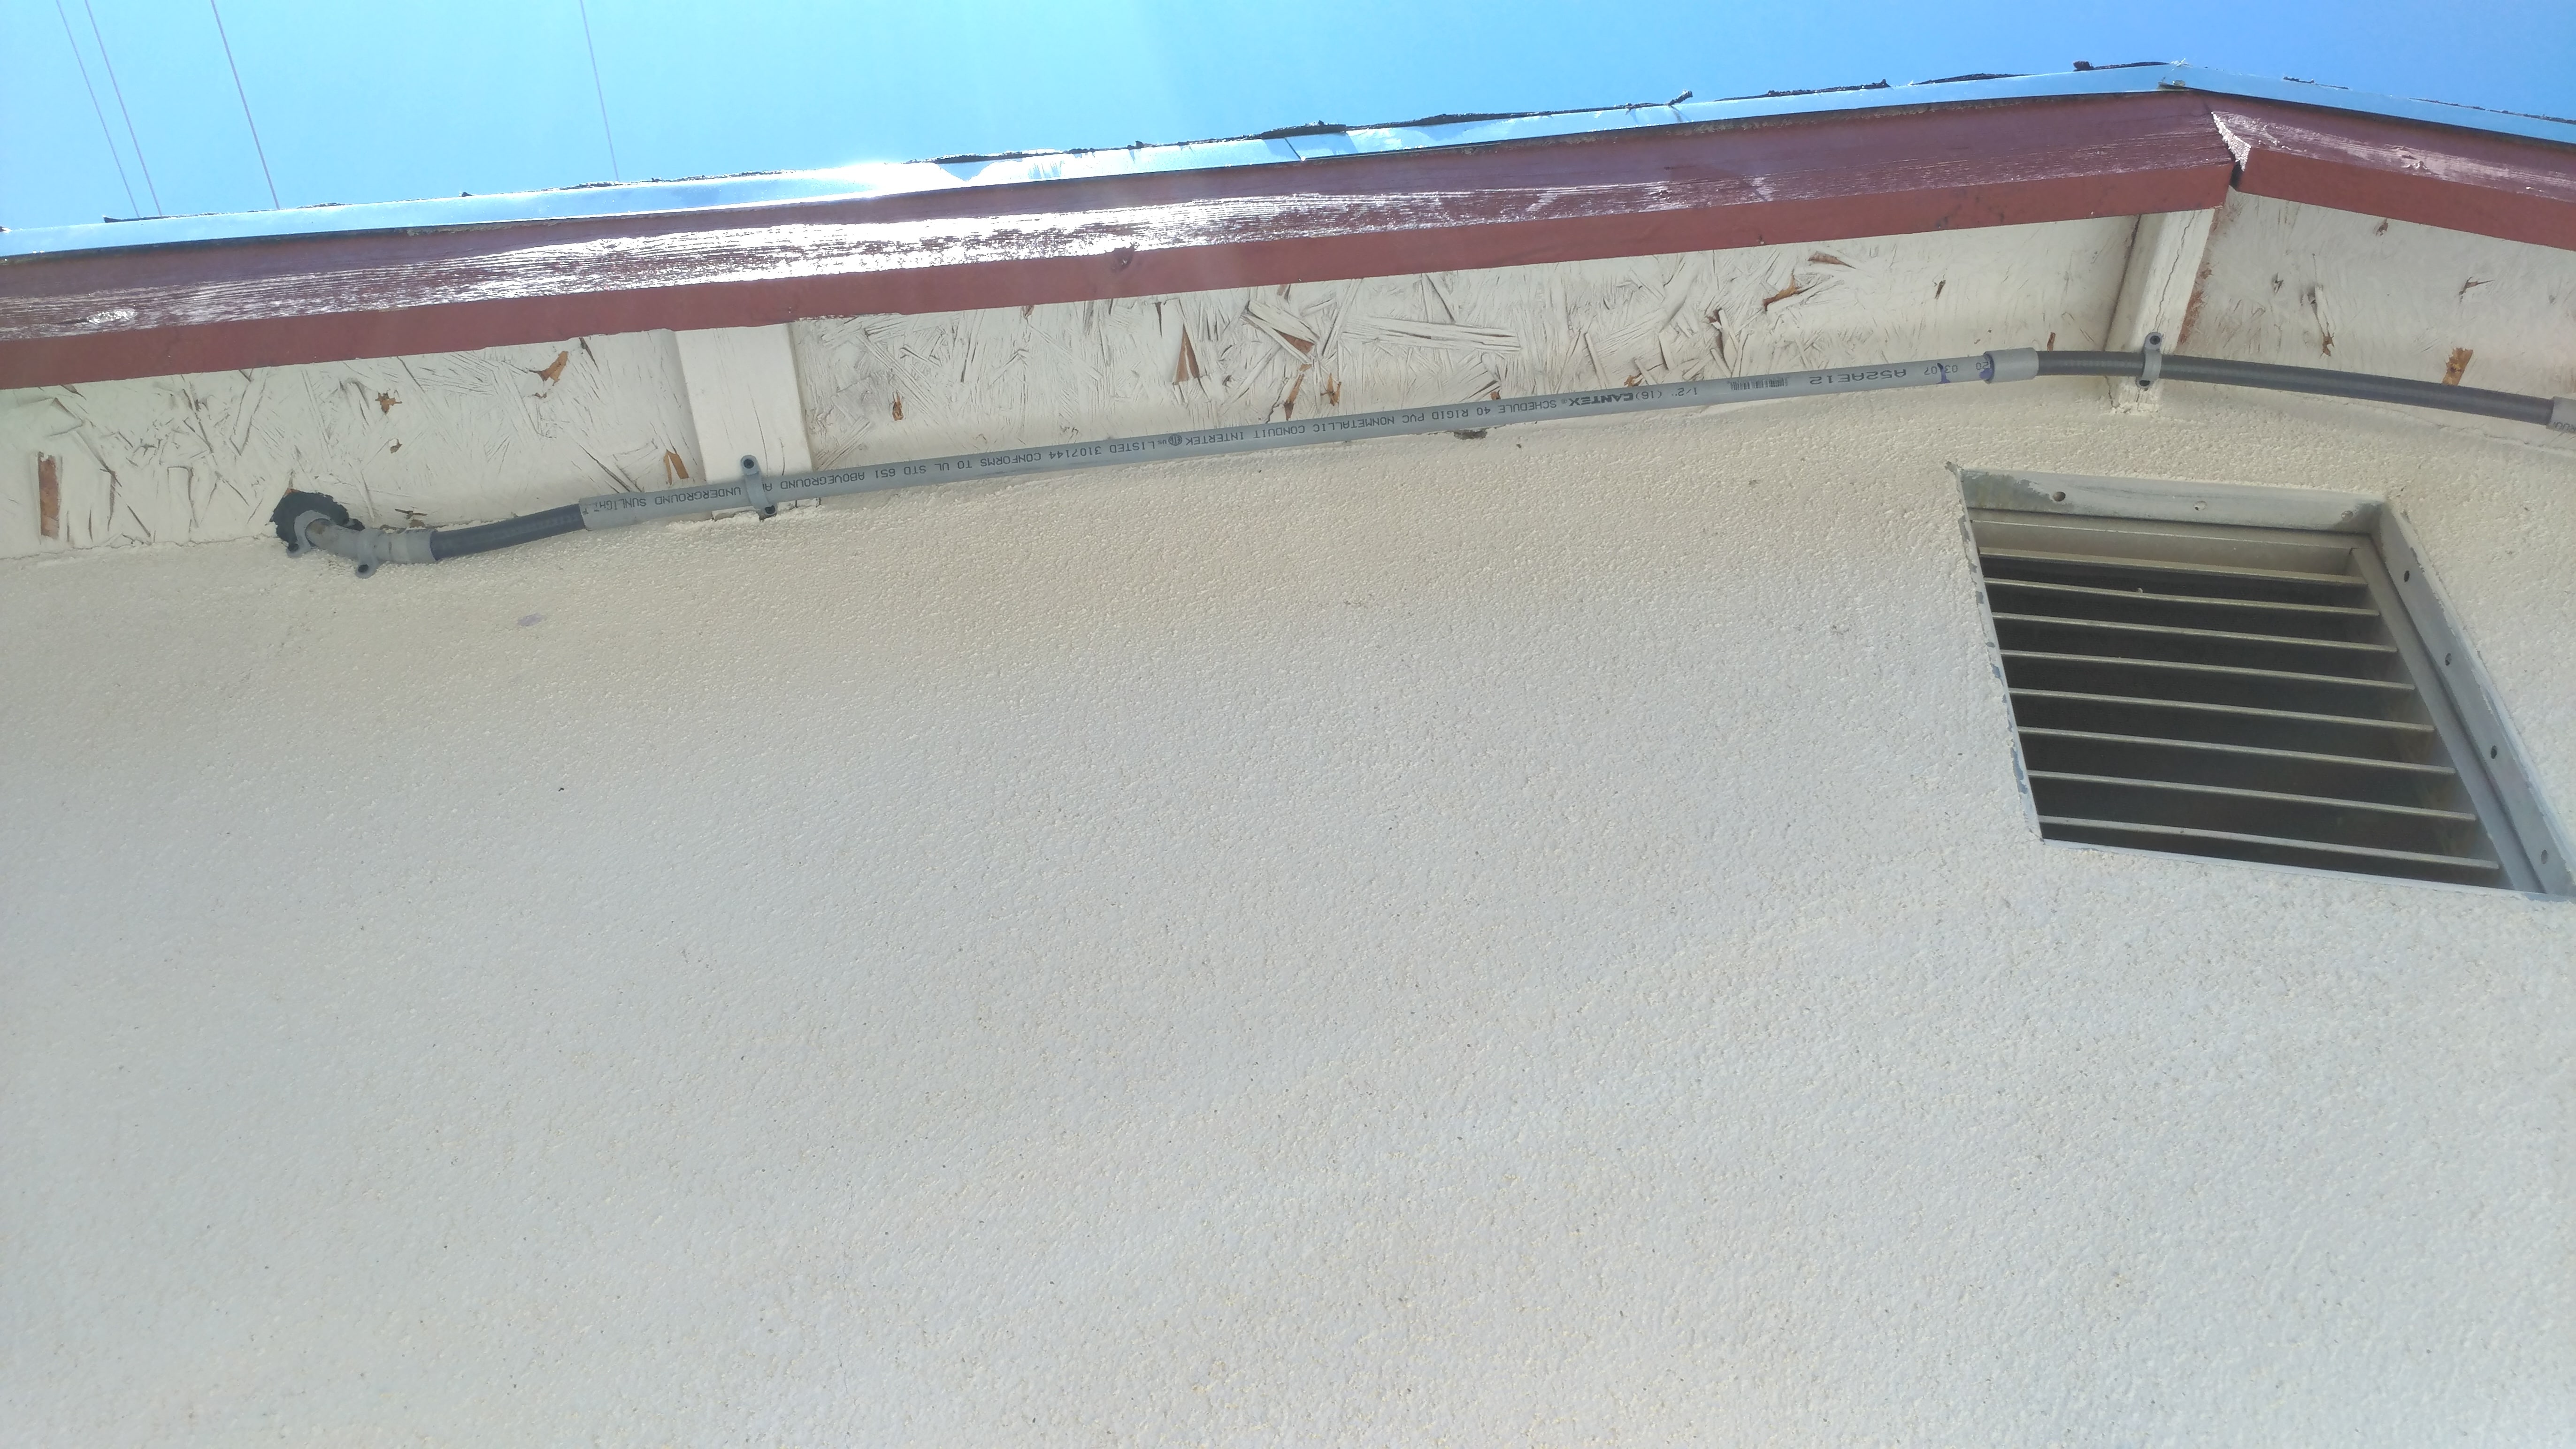
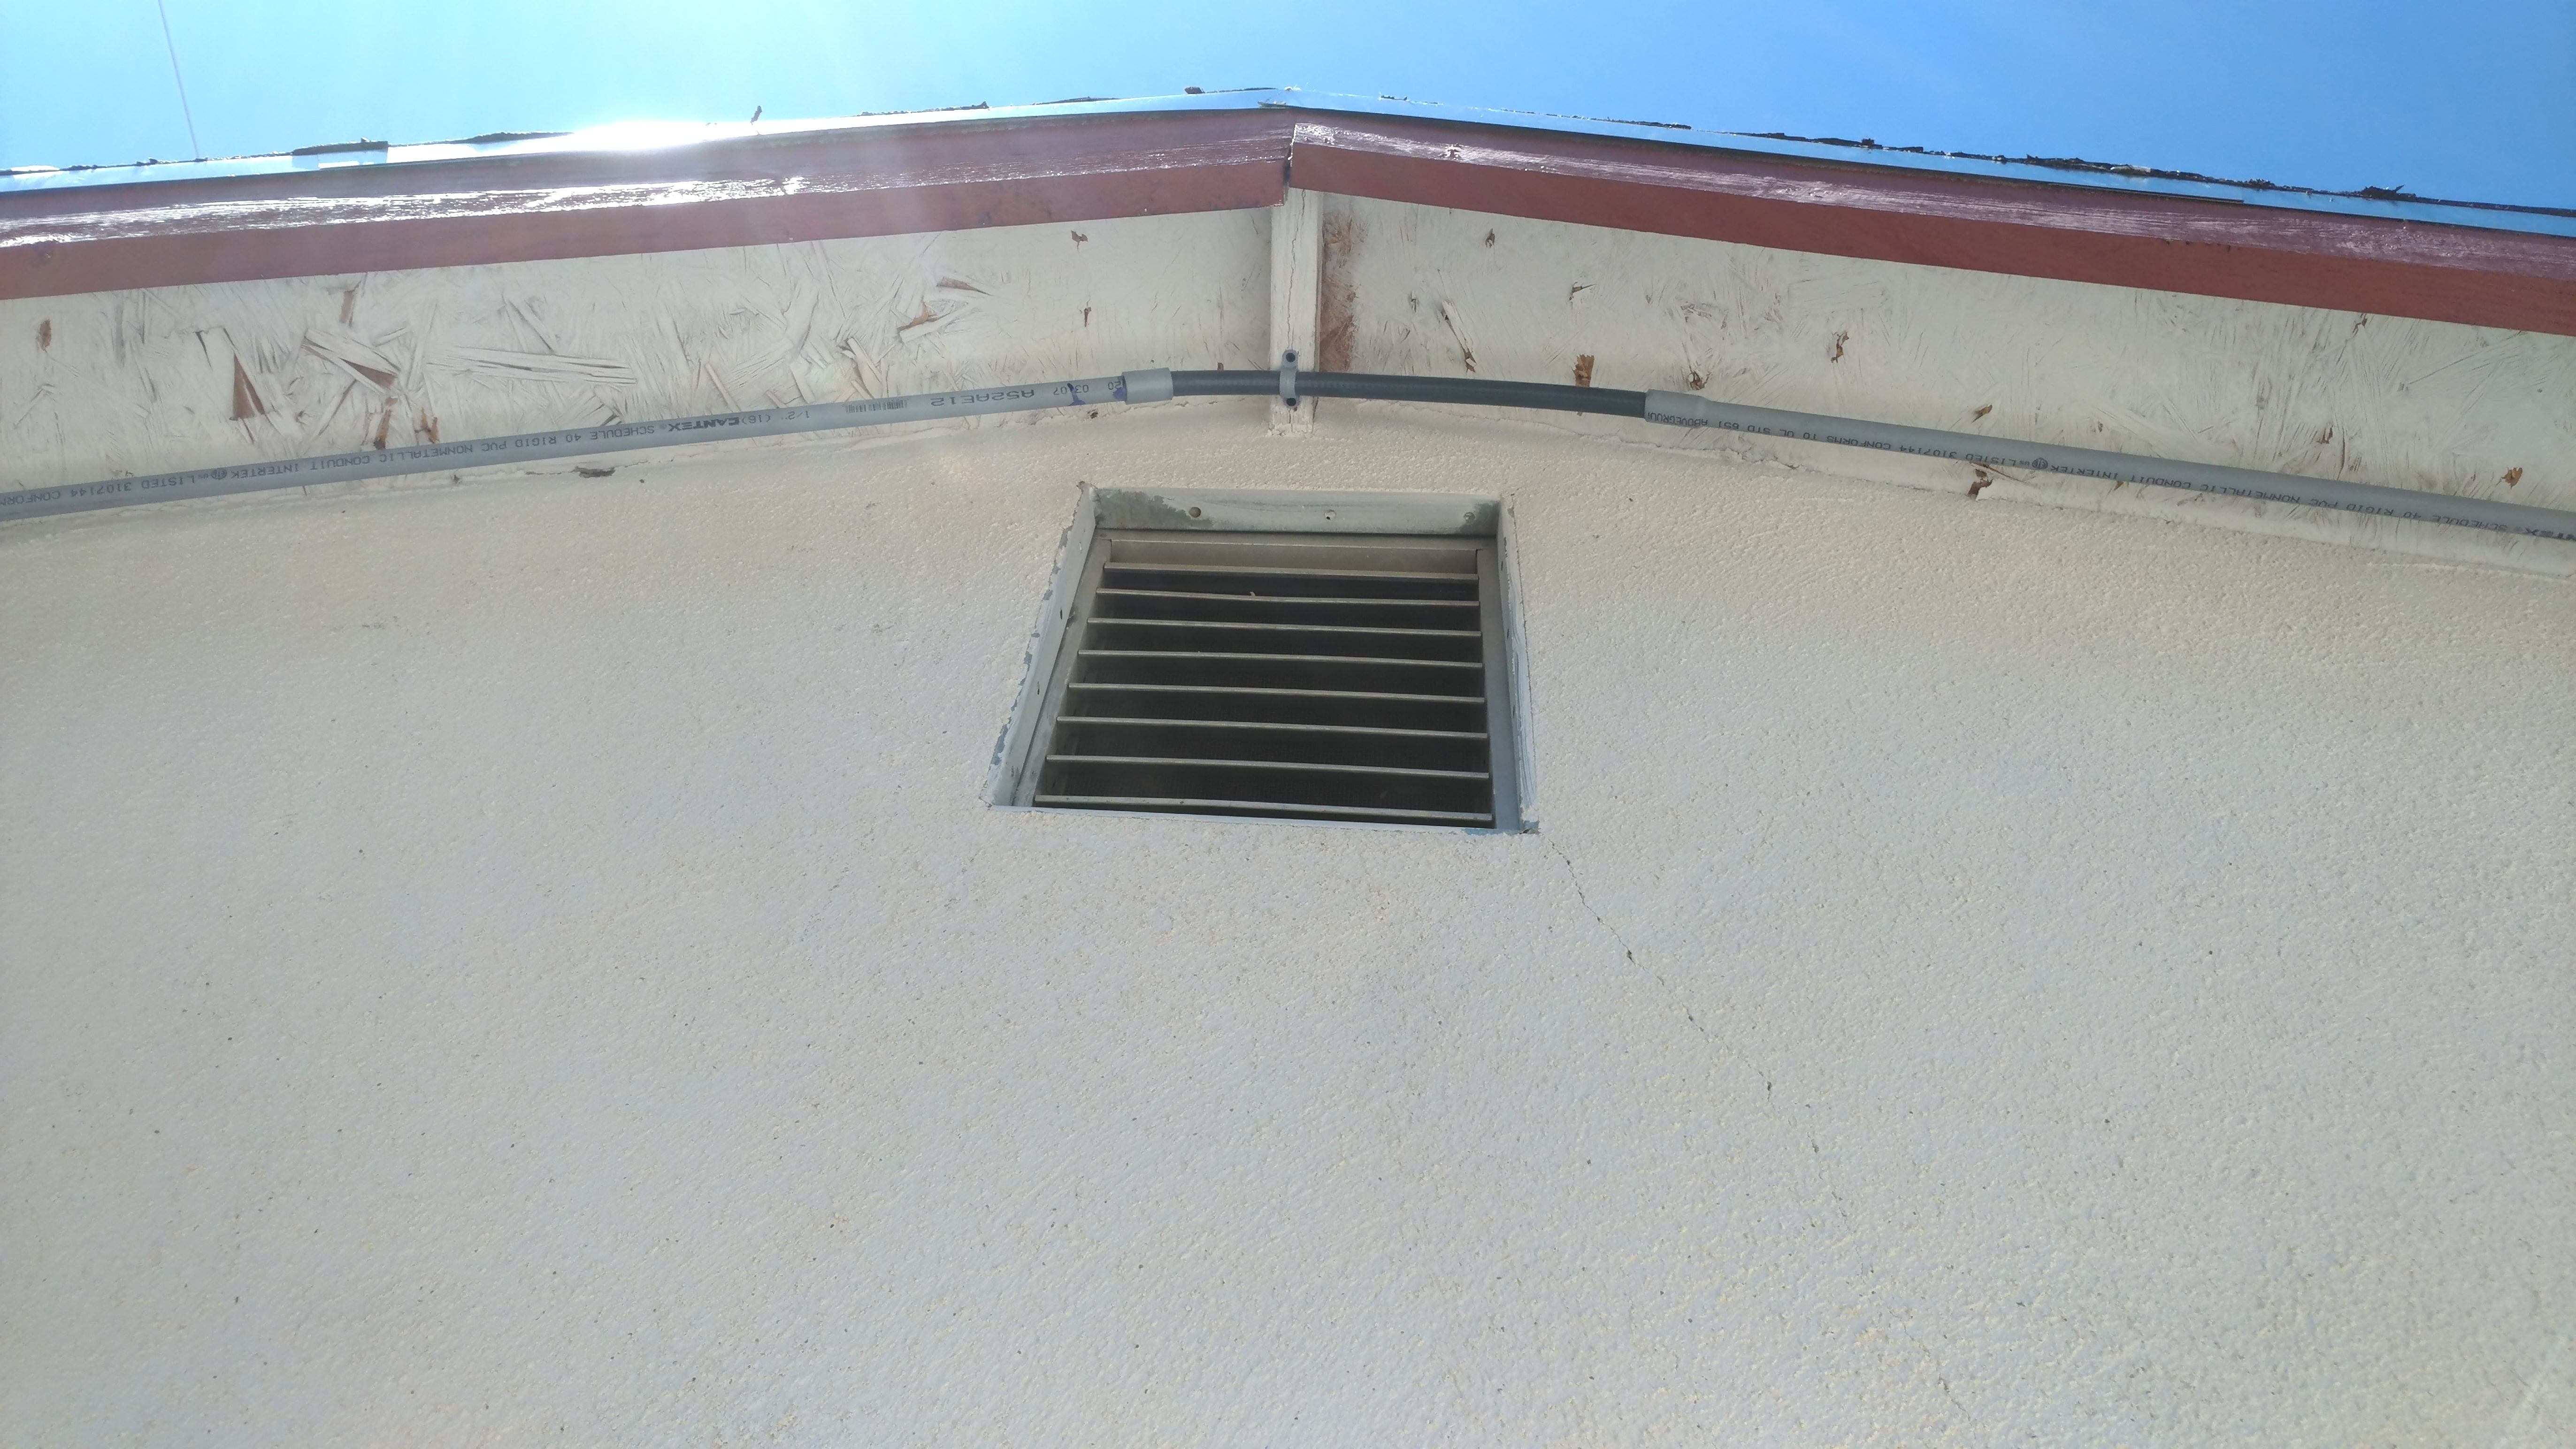
Hooking up the solar panels to the cobiner box was an easy process although we did have some issue pulling the wires. When we where putting on the shingles we added a flashing and a pvc pipe to pass the wires through the roof and under our eave. We are basically going to run the wires under the eave to the combiner box which is about 20'. At first we tried to pull the cable in one long run, but there was just too much friction to run all of the cables. Our wiring diagram called for conduit that was at least 1/2 of an inch so that is what we used, but if I had to do it again I would have went with larger conduit. Anyways we ended up pulling the wire in 10 foot sections and that made it a lot easeir to do.
We need to run 2 black, 2 red, and 1 green wires from the panels to the combiner box. So we bought one 50' spool in each color and cut it in half to make the 2 black and 2 red lines. This was long enough for the red lines, but the black lines where a little short because they have to run though a current meter at the bottom of the box. So we bought some wire by the foot at home depot and used butt wire connectors to extend the black wires to fit.